
Halloween is coming up soon, and it’s a fantastic time to get creative with nail art. If you enjoy fun and spooky themes, then these Halloween nail art ideas are not only easy but also perfect for beginners. This year, you can try glow-in-the-dark mummies, spiders, ghosts, and much more. Therefore, let’s explore some exciting ideas that you can easily do at home to get your nails ready for Halloween!
Easy Halloween Nail Designs for Beginners
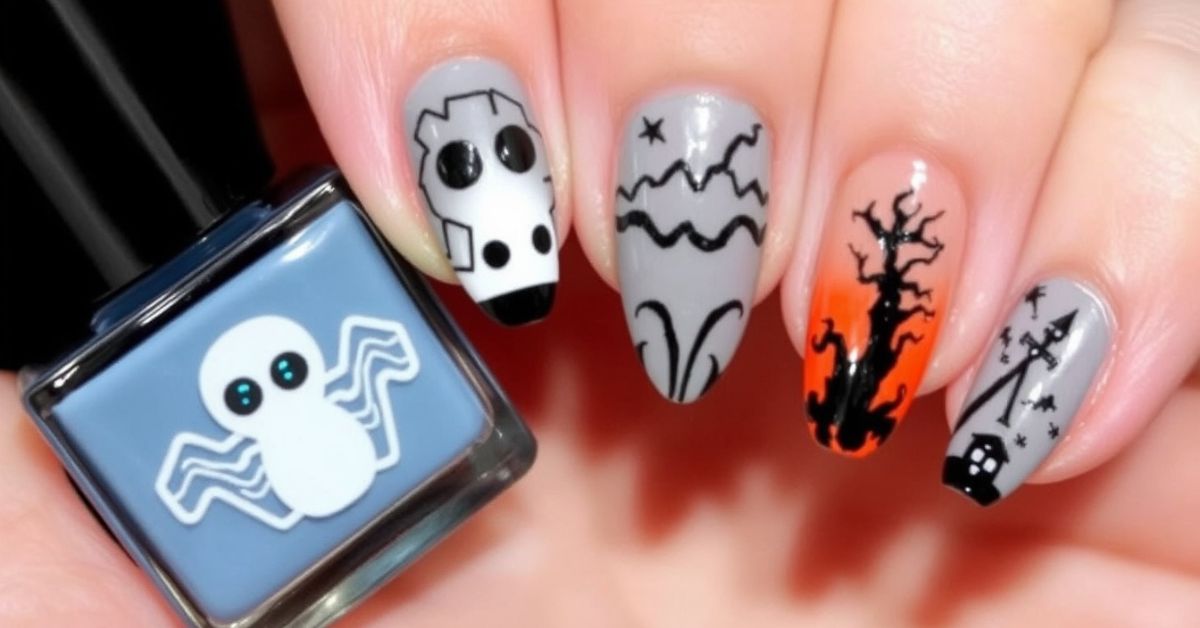
Simple Glow-in-the-Dark Mummy Nails
For a basic Halloween look, try making a glow-in-the-dark mummy design.
Tools You Need:
- First, a dotting tool and three brushes: a cleanup brush, a small liner brush, and a long liner brush.
- Next, use black gel polish for the base (any brand will work).
- Finally, incorporate glow-in-the-dark powder, mixed with white and yellow gel polish for the eyes.
Steps:
- Start by applying a black base coat, as glow-in-the-dark parts work best on a dark background.
- Next, mix the glow powder with white and yellow polish to create glowing eyes.
- Then, use a dotting tool to make two small circles for the eyes.
- After that, draw mummy wraps with the liner brush—remember, precision isn’t needed, so random lines will work just fine.
- Finally, use the small end of the dotting tool to add big eyes, enhancing the spooky effect.
This design is simple and doesn’t need advanced skills. You can also try a matte or glossy finish for different looks.
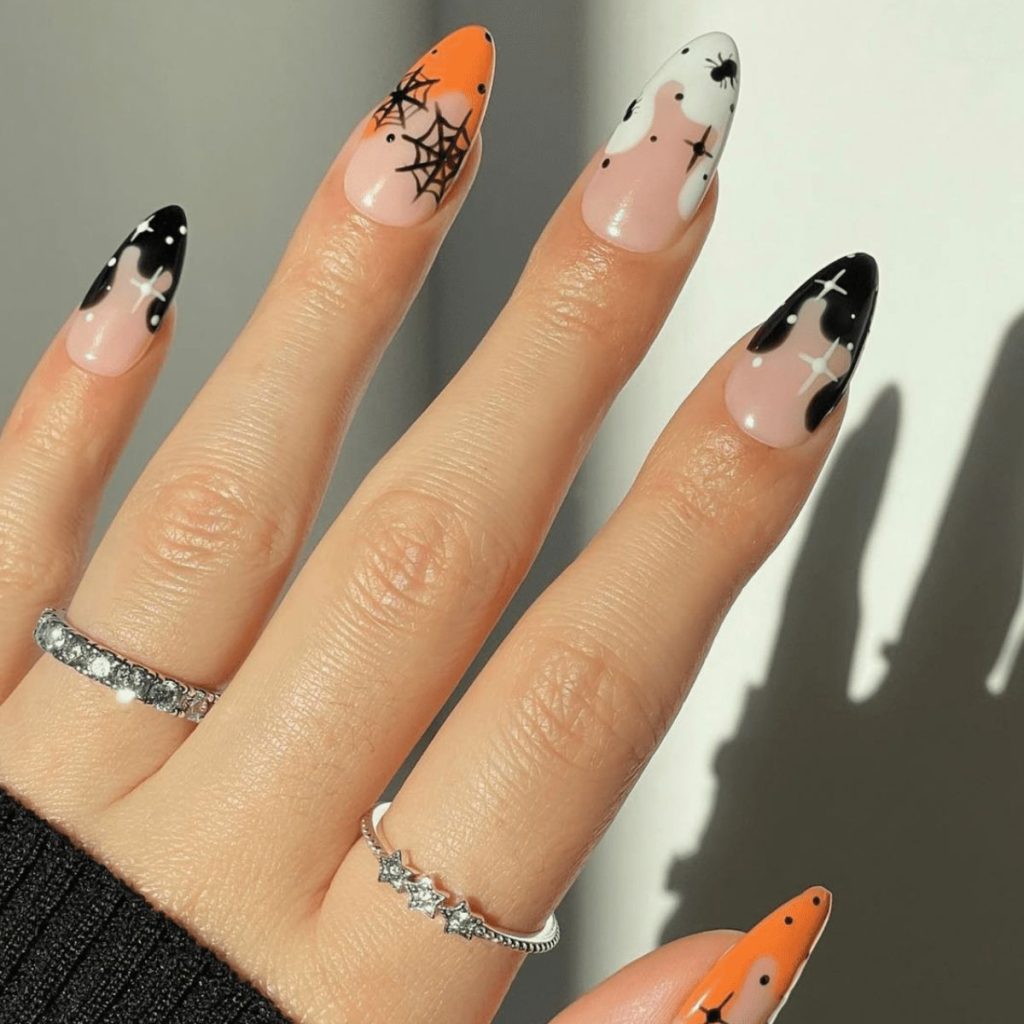
Minimalist Ghost Nails
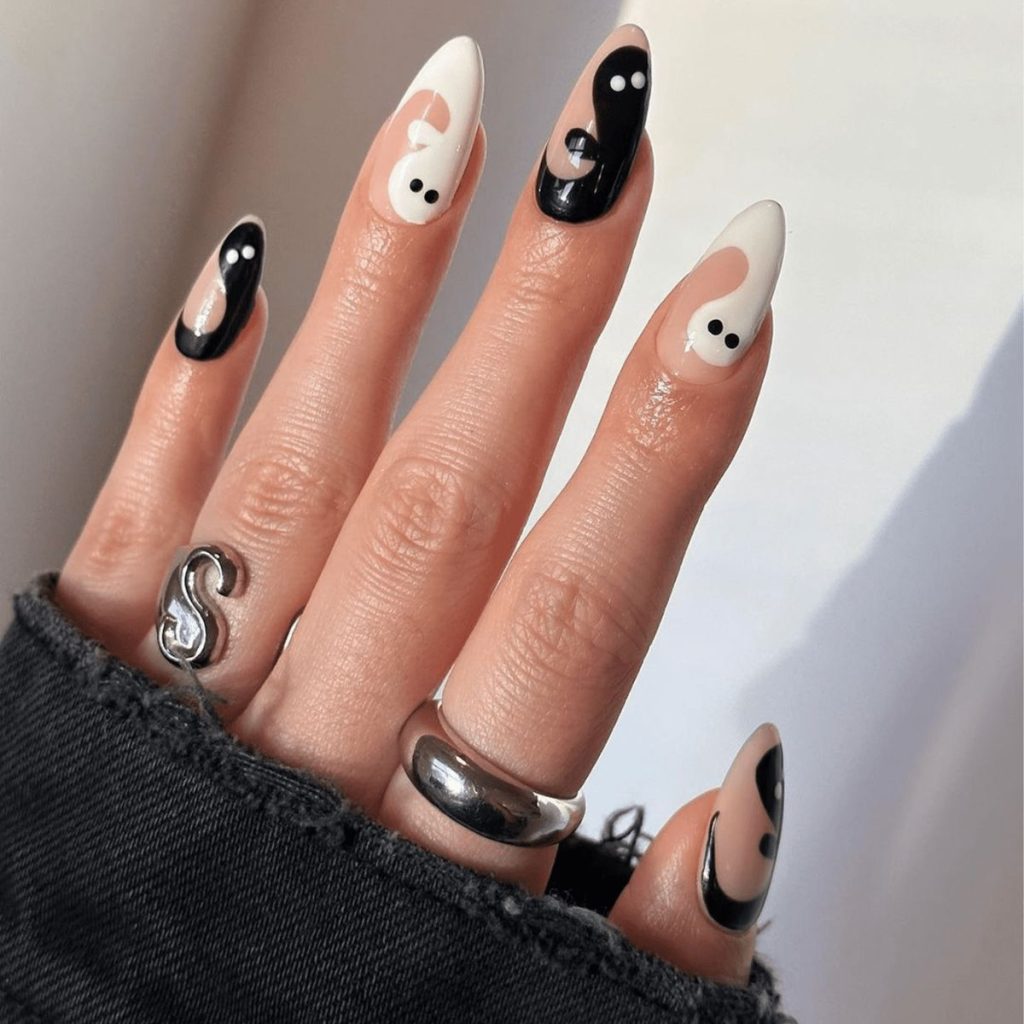
Ghosts are always popular for Halloween. Try making them a little different this year.
Steps:
- Use an orange jelly polish as the base for a good contrast.
- Draw the ghost with a longer body and frayed edges for a unique look.
- Add eyes that are long and droopy for a scarier effect, and finish with a small mouth.
- You can also add fog in the background by diluting white polish with alcohol for a misty effect.
Spooky Nail Art for a Unique Halloween Look
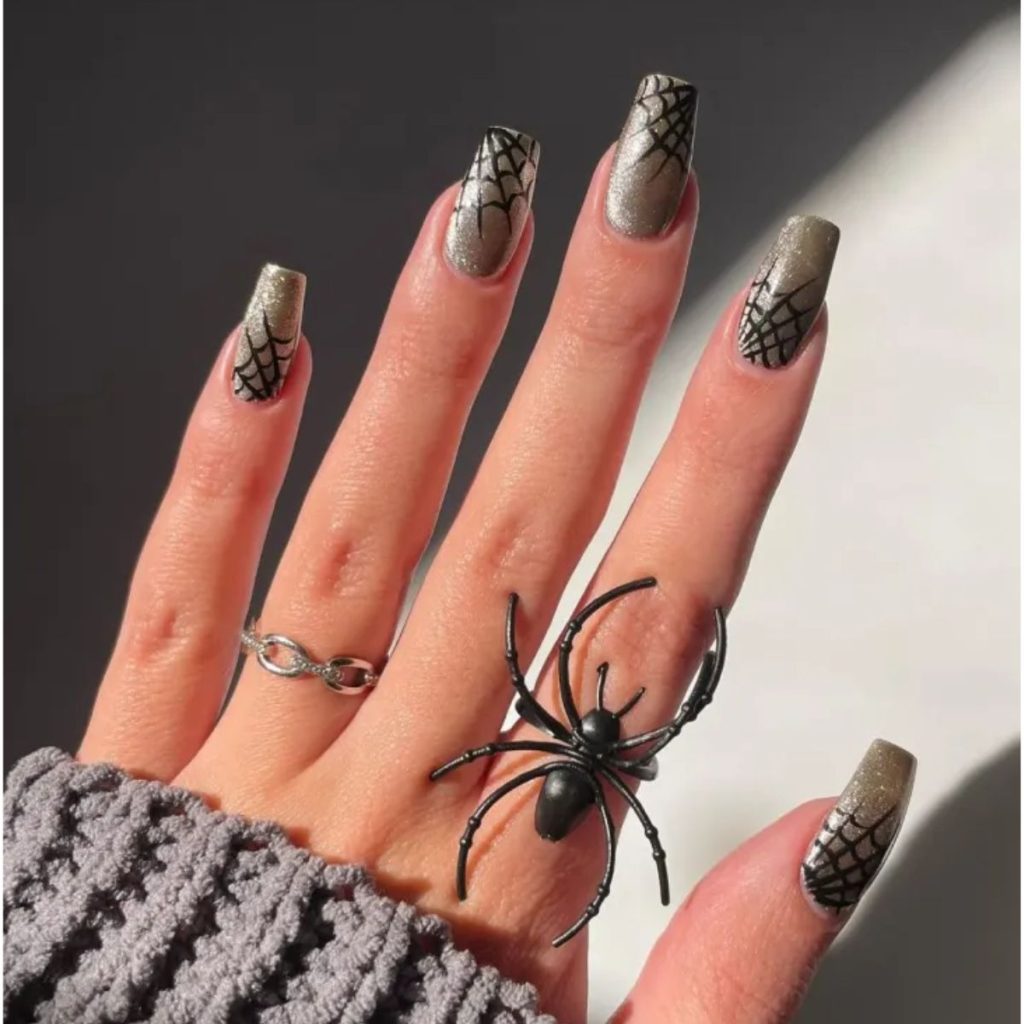
Realistic Spider Nail Art
Take your Halloween look to the next level by painting a spider.
Steps:
- Begin by applying a milky white base color.
- Next, draw the spider’s body by painting an oval shape; it doesn’t need to be perfect.
- Then, for the legs, create bent lines to achieve a more realistic effect.
- After that, add highlights on the body and legs using white polish.
- To enhance realism, incorporate shadows below each leg with a gray shade.
- Finally, use a glossy finish for the spider’s body while keeping the rest of the nail matte for added contrast.
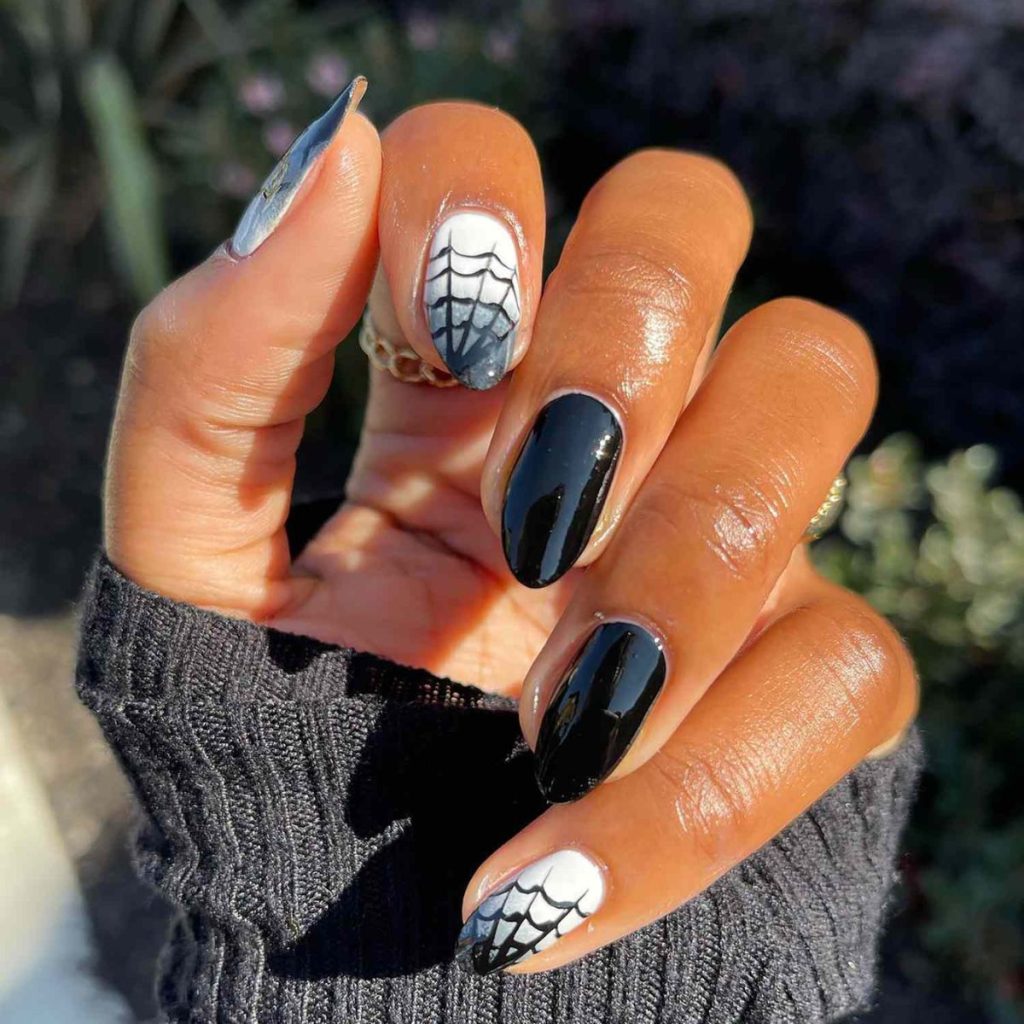
Pumpkin and Spider Web Combo
This design is easy and works for both Halloween and fall.
Steps:
- Start by applying a bright orange polish.
- Next, draw a pumpkin by creating a wide “M” shape across the nail.
- Then, add light lines to enhance the pumpkin’s realism, using white for highlights.
- For the spider web, use a long brush to draw the main lines and a shorter one for the connecting parts.
- Finally, consider adding glitter to parts of the web or making it 3D for extra flair.
Tools You Need for Halloween Nail Art
Basic Nail Art Tools
To create these designs, you need some basic tools:
- First, gather dotting tools, which are perfect for making eyes or other round shapes.
- Next, select brushes in different sizes, as they are useful for various details. For example, use a long brush for drawing lines and a short one for smaller details.
Using Glow-in-the-Dark Powder
Glow-in-the-dark powder is key for making your nails stand out at night. Mix it with gel polish to create glowing effects.
Step-by-Step Guide for Popular Designs
How to Create Glow-in-the-Dark Mummy Nails
- First, apply a black base coat.
- Next, mix glow powder with white and yellow polish.
- Then, use a dotting tool to create glowing eyes, and add mummy wraps with a liner brush.
Steps for Realistic Spider Nail Art
- First, start with a milky white base.
- Next, draw the spider body as an oval shape.
- Then, add legs using bent lines, and apply highlights with white polish.
Painting Classic Ghosts with a Twist
- First, use an orange base.
- Next, draw ghosts with a longer, frayed body.
- Then, add misty fog to create a haunted effect.
Pumpkin and Spider Web Nail Design Guide
- Draw the pumpkin with an “M” shape.
- Add lines for texture and a spider web for a complete look.
Tips for Painting Halloween Nails
Choosing the Right Base Colors
For Halloween, black, orange, and white are the best colors to use. Specifically, use black for glow effects, orange for pumpkins, and white for ghosts.
Using Different Brushes for Detail
- First, long brushes help with creating straight lines.
- On the other hand, short brushes are better suited for small details, such as the spider’s legs or web.
Adding 3D Elements to Your Halloween Nail Art
3D Gel for Spider Bodies
Adding 3D gel gives the spider body a more real effect. Just add a drop of the gel on the body and cure it for a raised look.
Enhancing Glow Effects
Mix glow powder into parts of the design to make the entire nail glow. It’s especially good for the eyes of the mummy or the details on the spider web.
Using Finishing Coats for Different Effects
Matte Finish for a Spooky Look
Matte finishes make your design look more mysterious, especially for mummy wraps or ghosts.
Glossy Finish for Extra Shine
Glossy finishes add shine and make elements like the spider’s body pop.
Tips for Maintaining Halloween Nail Art
Best Practices for Long-Lasting Nails
Always cure each layer of polish to avoid smudging and keep the design intact.
How to Retouch Glow-in-the-Dark Designs
If the glow effect fades, you can add another layer of glow powder mixed with gel polish.
FAQs About Halloween Nail Art
Glow-in-the-dark nails last as long as regular polish, usually one to two weeks, depending on your topcoat.
Yes, but gel polish makes the design last longer and gives a better glow.
Absolutely. These designs work well on all nail lengths.
Conclusion
Halloween nail art is a fun way to celebrate the spooky season. Whether you want a simple mummy or a detailed spider, these designs will help you express your Halloween spirit. Try these ideas and let your nails be the highlight of your Halloween look. Happy Halloween!